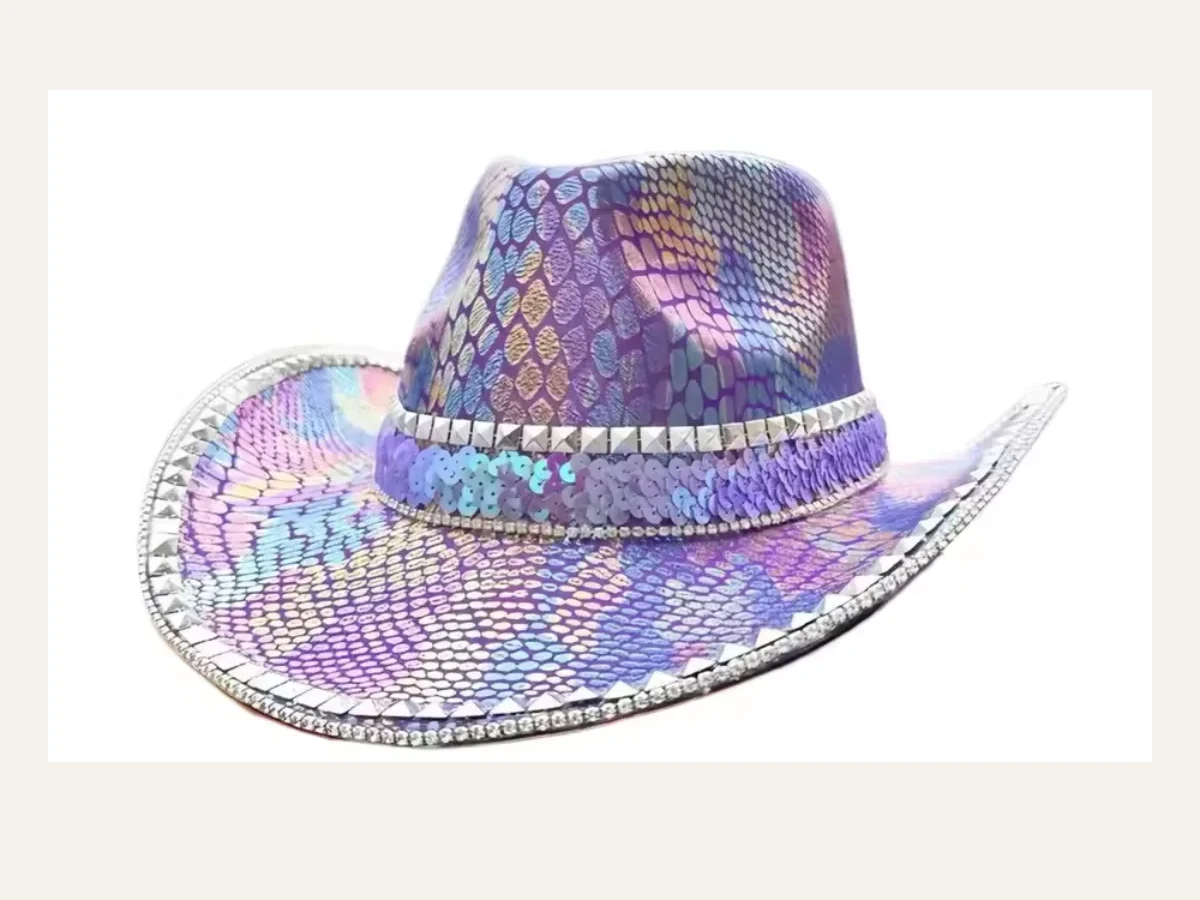
Cowboy Hat Photo Tips: How to Take the Perfect Festival Photo
A great disco cowboy hat deserves photos that actually do it justice. Between crowded festival lighting, glare off sequins and mirror tiles, and a brim that can cast an awkward shadow across your face, getting a genuinely good hat photo takes a little more thought and a few deliberate choices than just pointing your phone and shooting.
The good news is that a handful of simple adjustments make a massive difference. Here’s how to photograph your cowboy hat so every shot actually captures the sparkle instead of losing it to shadow or glare.
Why Cowboy Hats Are Tricky to Photograph Well
A wide brim naturally casts a shadow across the face in direct overhead light, while sequin, mirror, and rhinestone finishes can either sparkle beautifully or wash out into flat glare depending on the angle and light source. Understanding these two challenges is most of the battle when it comes to getting a shot that actually looks as good as the hat does in person.
Golden Hour Is Your Best Friend
Shooting during the hour after sunrise or before sunset gives you soft, warm, angled light that fills in the shadow under a brim far better than harsh midday sun. This lighting also catches sequin and mirror finishes at a flattering angle, creating a soft sparkle rather than a blown-out glare.
Tilting the Brim to Avoid Face Shadow
A small upward tilt of the head, or angling the hat slightly back rather than pulled low over the eyes, lets more light reach your face in a photo without losing the hat’s silhouette. This is one of the simplest fixes for the single most common cowboy hat photo problem: a shadowed, hard-to-see face under the brim.
Shooting Sequin and Mirror Finishes Without Glare
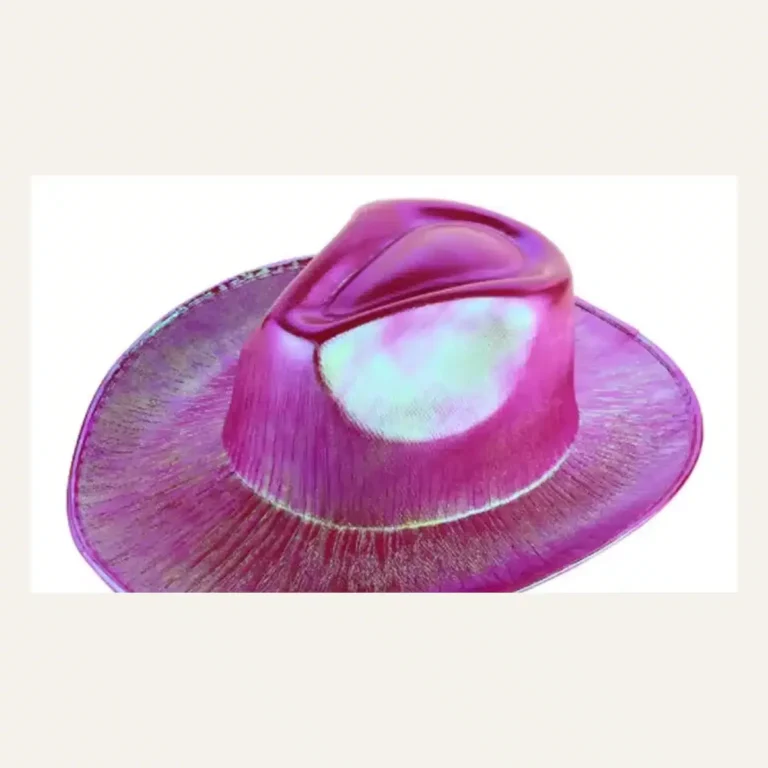
Direct, harsh light hitting a mirror or sequin finish head-on often creates a blown-out white glare that hides the actual sparkle and color underneath. Positioning the light source slightly to the side rather than straight-on usually captures the shimmer more accurately, letting individual sequins or tiles catch light rather than reflecting one flat glare.
Best Angles for a Flattering Hat Photo
A slight downward angle from just above eye level tends to be the most flattering for cowboy hat photos, since it shows the crown shape and brim curve clearly while still keeping your face visible. Shooting straight-on from eye level can sometimes flatten the hat’s silhouette compared to a slightly elevated angle.
Indoor and Nighttime Party Photos
For indoor events and nighttime parties, positioning yourself near a light source, like string lights or a well-lit area of the venue, rather than relying on flash directly at the hat, usually produces a much better result. Direct flash tends to create the same glare problem as harsh midday sun, just with artificial light instead.
Group Photos with Multiple Hats
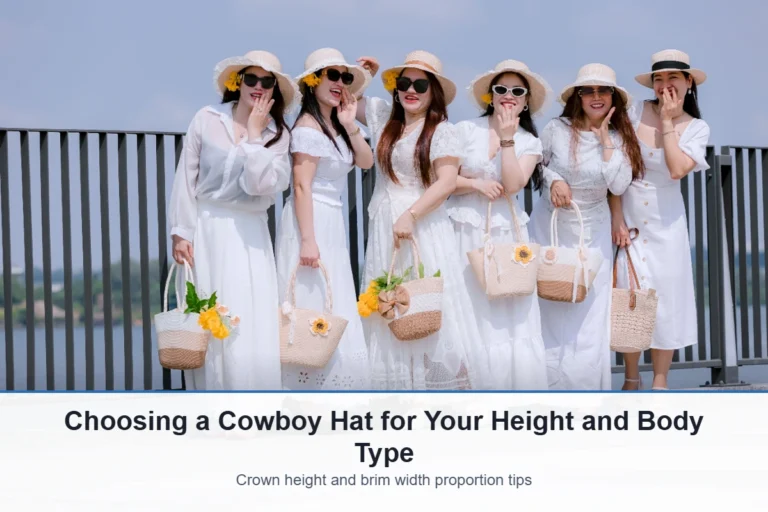
When photographing a group wearing coordinated or matching hats, spacing people out slightly rather than clustering tightly helps each hat’s finish and silhouette read clearly instead of blending into a single sparkly blur. Staggering heights slightly, if the group is standing, also helps every hat stay visible in the frame.
Using Natural Backdrops to Complement the Hat
A simple, uncluttered backdrop, like a plain wall, open sky, or soft greenery, lets a heavily embellished hat stay the clear focal point of the photo rather than competing with a busy background. Save more elaborate backdrops for hats with simpler finishes, where there’s visual room for both to share the frame.
Editing Tips for Sparkle and Shine
A light boost to contrast and clarity in editing can help sequin and rhinestone finishes read more clearly in a photo than they did straight out of the camera, since phone cameras sometimes flatten fine sparkle detail. Avoid over-sharpening, though, since it can start to look artificial rather than simply crisp.
Photographing Fringe and Movement Details
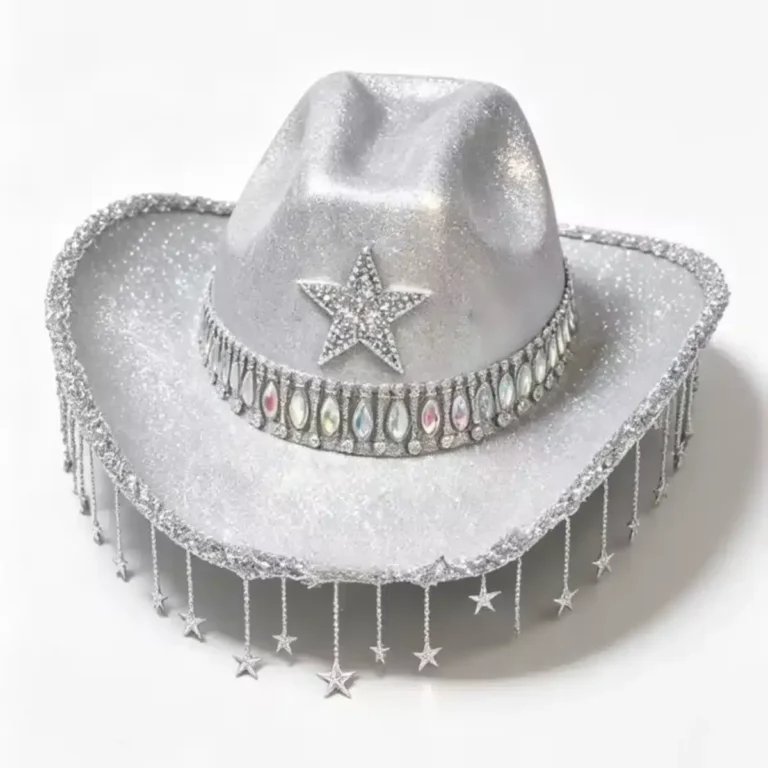
Star fringe and chain drops photograph best with a small amount of movement caught mid-motion, like a slight head turn, rather than perfectly still, since it shows off how the pieces actually move and catch light in real life. A quick burst of several shots in a row makes it much easier to land on the best mid-motion frame.
Video and Slow-Motion for Sparkle Finishes
A short slow-motion video clip, even just a few seconds of a head turn or a hand slowly adjusting the brim, often captures a sparkle finish’s full effect far better than a single still photo ever can. This is especially worth trying for mirror and holographic finishes, where the light-catching effect is genuinely more dynamic than static.
Getting the Best Solo vs. Group Shots
Solo shots benefit from getting close enough that the hat’s details, embellishment, band, fringe, are actually visible, rather than shooting from far enough away that the hat becomes a small detail in a wider photo. Group shots, by contrast, usually work best a bit further back so the full lineup and each person’s outfit stays in frame.
Planning Ahead for Festival and Event Photos
If a specific photo moment matters to you, like a bachelorette group shot or a festival sunset photo, scouting a location with good light ahead of time, rather than improvising in the moment, makes a noticeable difference in how the final photos turn out. Even five minutes of planning can be the difference between a forgettable snapshot and a photo you’ll actually want to print.
Phone Camera Settings Worth Adjusting
Tapping to manually set focus and exposure on your face, rather than letting the camera auto-expose for the brightest part of the frame, usually keeps your face visible even with a bright sky or shiny hat finish nearby. Most phone cameras also let you drag exposure up or down slightly after tapping to focus, which is an easy way to brighten a shadowed face without a separate editing app.
Capturing Detail Shots of the Hat Itself
Beyond the full outfit shot, a few close-up detail photos of the band, fringe, or rhinestone settings are worth taking separately, since these details often get lost in a wider photo but photograph beautifully on their own. This is especially useful if you want a shot that actually shows off the craftsmanship rather than just the overall silhouette.
Building a Simple Shot List Before an Event
Having two or three shot ideas in mind before you arrive, a solo detail shot, a full-outfit shot, and a group shot if you’re with friends, makes it much easier to actually get good photos in the moment instead of scrambling to improvise once everyone’s already had a few drinks and the light is fading. It doesn’t need to be elaborate; even a mental checklist is enough to make sure you don’t leave without the shots you actually wanted.
Common Mistakes to Avoid
- Shooting in harsh, direct midday sun. This creates deep brim shadows on the face and can wash out sparkle finishes into flat glare.
- Using direct flash on sequin or mirror hats. Flash often produces the same blown-out glare problem as harsh sunlight.
- Standing too far back for solo detail shots. Embellishment and fringe details get lost if the hat is too small in the frame.
- Overcrowding group photos. Spacing people out helps each hat’s finish and silhouette read clearly instead of blurring together.
Frequently Asked Questions
What’s the best lighting for photographing a cowboy hat?
Golden hour, the soft light shortly after sunrise or before sunset, gives the most flattering results, filling in brim shadow and catching sparkle finishes gently.
How do I avoid glare when photographing a sequin or mirror hat?
Position the light source slightly to the side rather than straight-on, which lets individual sequins or tiles catch light instead of reflecting one flat glare.
How do I stop my face from being shadowed by the brim in photos?
Tilt your head slightly up or angle the hat a bit back rather than pulled low, which lets more light reach your face without losing the hat’s shape.
What’s the best angle to photograph a cowboy hat from?
A slight downward angle from just above eye level usually shows the crown and brim shape clearly while keeping your face visible.
How do I photograph a group wearing matching cowboy hats?
Space people out slightly rather than clustering tightly, so each hat’s finish and silhouette reads clearly instead of blending together.
Should I use flash for nighttime cowboy hat photos?
Direct flash often creates glare similar to harsh sunlight. Positioning near ambient light, like string lights or a well-lit area, usually works better.
Does video capture sparkle finishes better than photos?
Often yes, especially for mirror and holographic finishes. A short slow-motion clip of a head turn shows the light-catching effect more dynamically than a still photo.
Final Thoughts
A few small adjustments to light, angle, and timing are usually all it takes to get a cowboy hat photo that actually matches how good the hat looks in person. Browse our full collection of cowboy hats to find your next photo-ready piece.